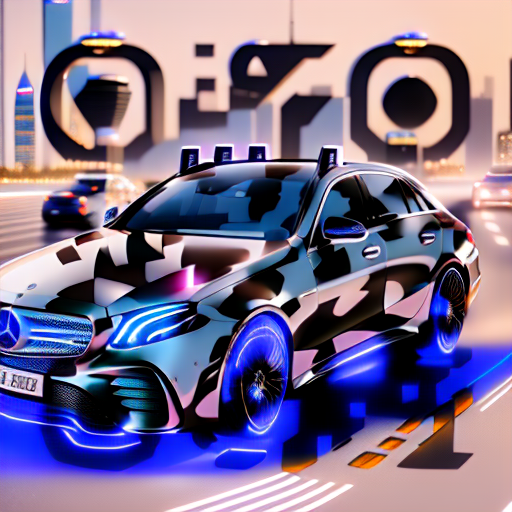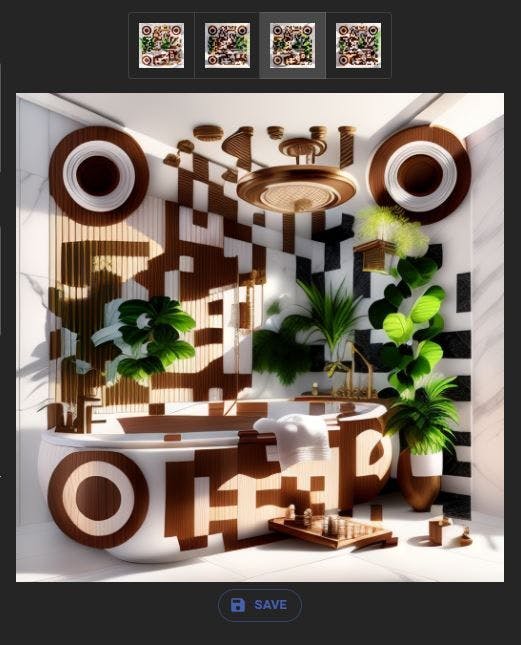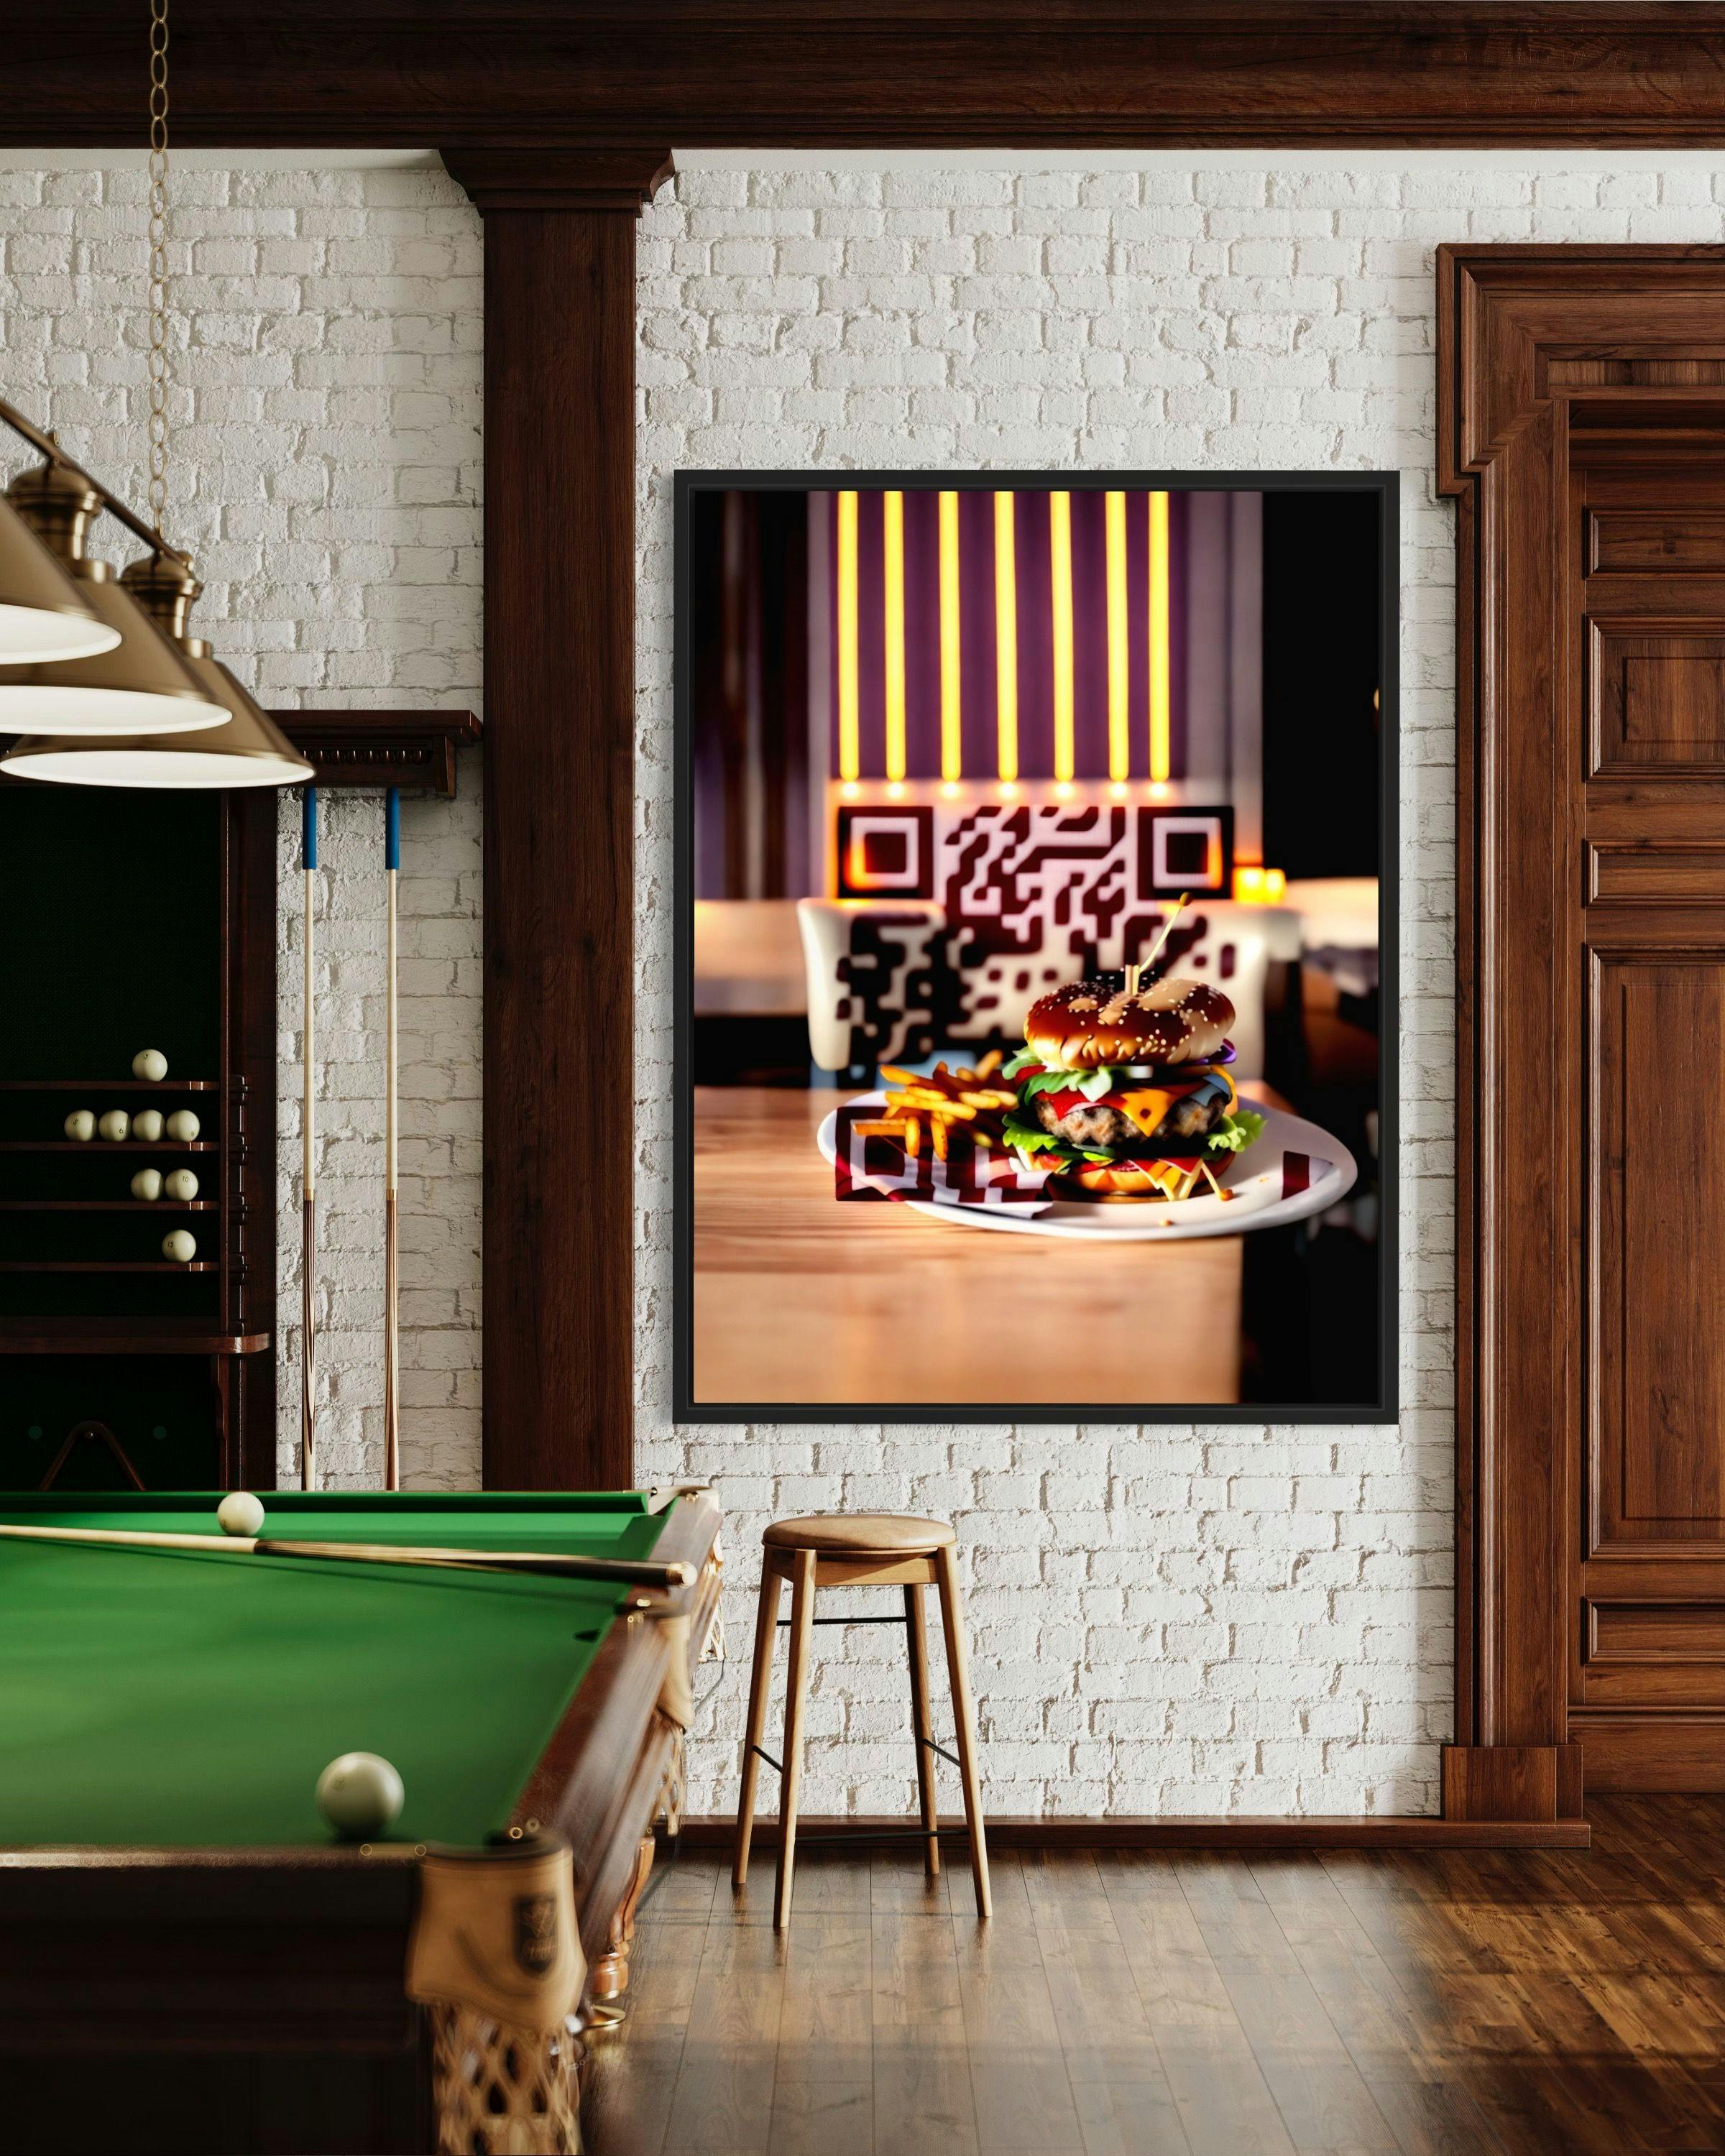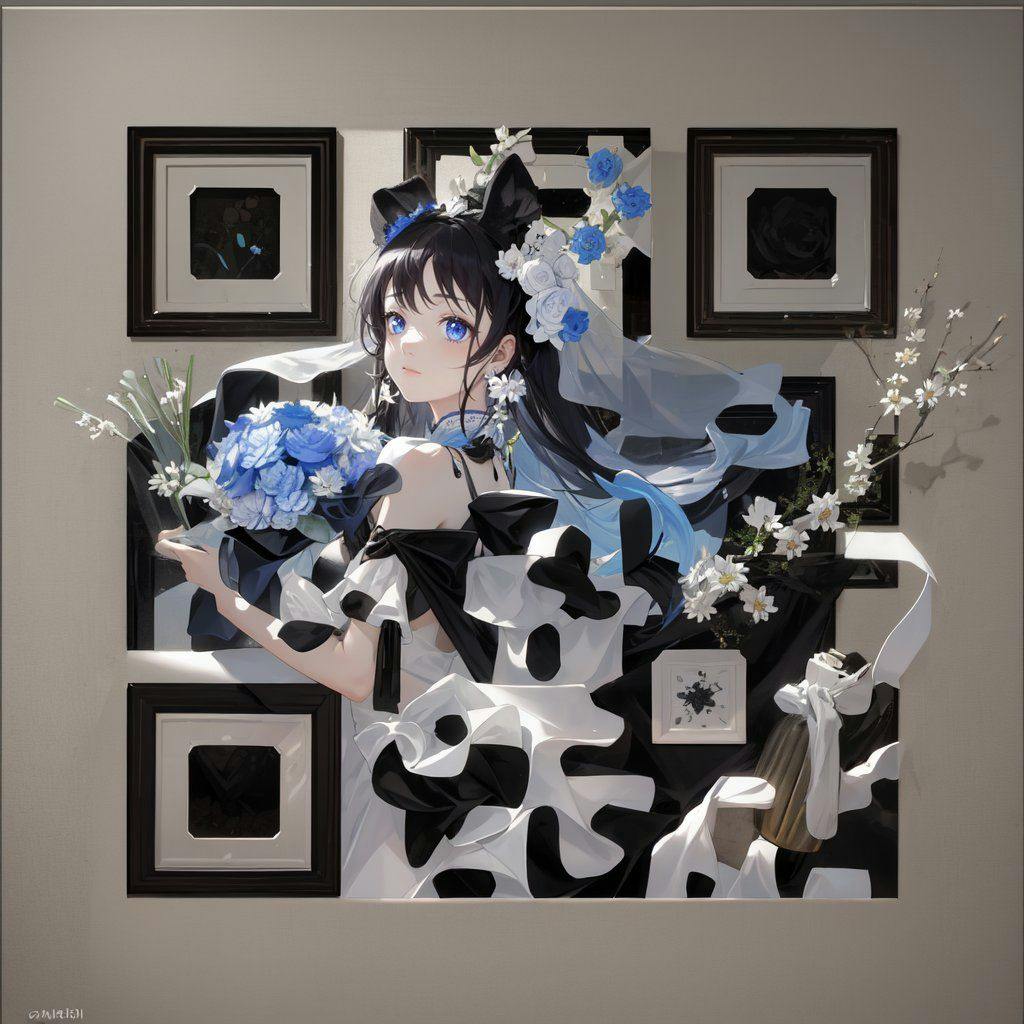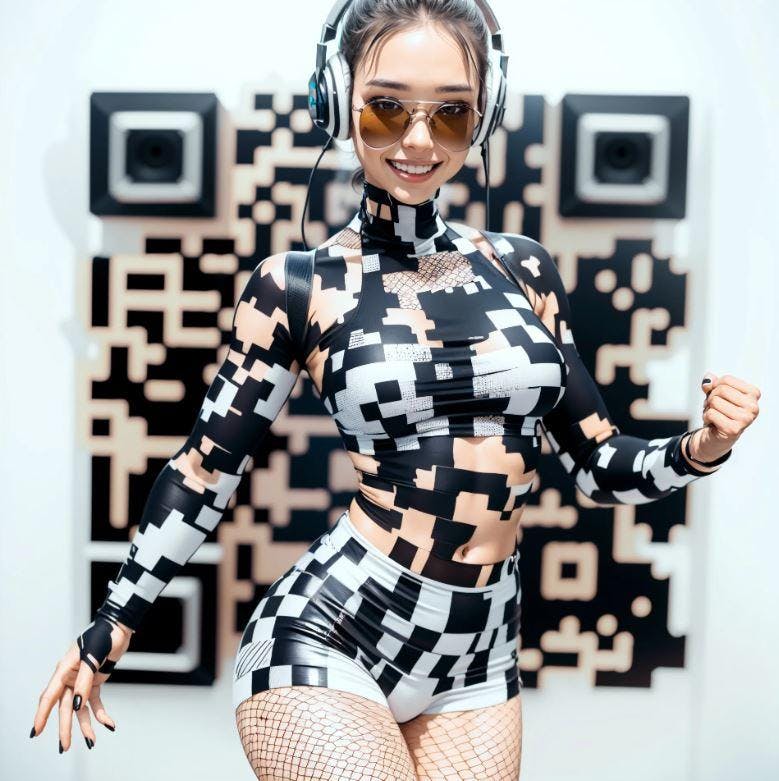
First week in June 2023 someone on Reddit posted a bunch of QR codes, that were out of this world. After that, there has been an explosion of QR codes generated by AI that allows the boring back and white QR codes to be looking like art. In this article we dive deep into how to make such QR code yourself, and why it will bring you value in the long run.
Examples
How it all started?
A reddit user named nhciao, published a set of mind bending QR codes. They featured some Chinese traditional patterns, Ukiyo-e style, and some other manga themes QR codes. After some research the user seems to be Ni Hao, who has initially done some work on QRBTF as part of his studies and then moved to Stable Diffusion+ControlNet and started this trend by accident. The post went viral, gained tens of thousands of reposts and shares and started this boom. You can read more about the original post and deconstruction of their work in a blog post that is coming up next.
Technology used
As far as we know, the only way now (June 2023) how to achieve this results with AI is with Stable Diffusion with ControlNet extension. Apart from that, you can argue you could hire an artist, to do it for you like Luis Vuitton has done in their ads and pay a hefty fine to the artist. Midjourney, or other image generators seem to be unable to generate working QR codes at this time.
Option 1 - QR Diffusion Generator
Easiest way to generate artistic QR codes is with QR Diffusion generator.
- Enter the data you want to encode
- Enter text prompts that defines how the artwork will look like
- Press "Generate"
- If you want, you can adjust various options by switching between Beginner, Advanced and Expert modes.
Option 2 - Using Stable Diffusion + ControlNet
You need to install Stable Diffusion with ControlNet extension and download models to get started.
Prerequisites: In order to run StableDiffusion you need to have a powerfull device with minimum of 8GB VRAM. Alternative is to rent the hardware from a service like Google Colab, HuggingFace or others.
Written tutorials
One that stands out is written by Alexandru Knight where he explains the small nuances between various settings and parameters.
Video tutorials
There are two tutorials that stand out. Each of them are using a similar workflow, but one uses txt2img and the other uses img2img. They also use different base models and different ControlNet models, which shows that there is not a single way forward, but you can develop your own workflow that suits your needs.
Text to Image
Tutorial by Technonator that uses Text to Image
Image to Image
Tutorial by DigitalDreamer that uses Image to Image
Tutorial by AI Voice Tutor that uses Image to Image QR code generation
Text to image or Image to Image?
Sometimes you want the QR code to resemble the shape of something abstract, then text to image approach is just fine. But sometimes you want a specific person or product to be made into a QR code version, then image to image model tends to get better results.
Method A - Text to Image
- Download and Install Stable Diffusion Web UI by Automatic111
- Download Stable Diffusion Dreamshaper Model and place it into \stable-diffusion-webui\models
- Download nad Install ControlNet Extension
- Download ControlNet Models control_v11f1e_sd15_tile.pth and control_v1p_sd15_brightness and place them into \stable-diffusion-webui\extensions\sd-webui-controlnet\models
- Generate QR Code (the old way) using a QR Code generator of your choice
- StableDiffusion Settings
- Choose StableDiffusion Model DreamShaper and Settings
- Enter Prompt "masterpiece, best quality, mecha, no humans, black armor, blue eyes, science fiction, fire, laser canon beam, war, conflict, destroyed city background"
- Enter Negative Prompt "UnrealisticDream, FastNegativeEmbedding"
- Choose Sampling method - DPM++2M Karras

7. Create ControlNet 0 with following settings:
- Enable ControlNet 0
- Upload QR Code to the UI
- Select Preprocessor - inpaint_global_harmonious
- Select ControlNet Model - control_v1p_sd15_brightness
- Set Control Weight - 0.35
- Set Starting Control Step - 0
- Set Ending Control Step - 1

8. Create ControlNet 1
- Enable Controle Net 1
- Upload QR Code to the UI
- Select Preprocessor - inpaint_global_harmonious
- Select ControlNet Model - control_v11f1e_sd15_tile
- Set Control Weight - 0.65
- Set Starting Control Step - 0.35
- Set Ending Control Step - 0.75

9. Generate QR Codes Below is a result of the prompt and settings.

10. Play around with the parameters - Depending on your application, you may want to make the QR code more or less significant. For this you can tweak the start and ending control step - where the longer you have the control net active, the more profound the code will be in t he design.
11. Navigate to \stable-diffusion-webui\outputs\txt2img-grids{date} to find the image files
12. Test that the QR Code scans on multiple devices - It is known, that not all QR codes scan the same way on different devices. It is key to test that most devices are able to read your QR code before using it in real life.
Method B - Image to Image
Very similar to previous method, but instead of we use img2img tab in WebUI and also the models and preprocessors used are different this time.


- Select StableDiffusion Model you can use DreamShaper_6.31 to get similar results to this tutorial.
- Enter Prompt and Negative Prompt to the Stable Diffusion WebUI
- Upload image of the input QR code to the img2img tab
- Select a sampling method DPM++2M Karras
- Move Denoising Strength to 1
- Enable ControlNet 0
- Select tile_resample preprocessor
- Select control_v11f1e_sd15_tile [a371b31b] as a ControlNet model
- Set Control Weight to 1.2 - This setting controls how much the QR Code will stand out from the image.
- Move the Starting Control Step to 0.17-35 for best results. Lower value means that ControlNet (QR-Code) going to be used in the image generation earlier and make it more profound.
All other settings remain default values